
Understanding Sciatica: Why Your Office Chair Matters
Sciatica isn't just back pain—it's a specific condition where the sciatic nerve (the longest nerve in your body) becomes compressed or irritated. This nerve runs from your lower back through your hips and buttocks and down each leg. When you sit for hours in a poorly designed chair, you're essentially putting pressure on this already sensitive nerve pathway, triggering pain, numbness, or tingling that can radiate down your entire leg.
The Sitting-Sciatica Connection
Think of your sciatic nerve like a garden hose. When you step on a hose, water flow is restricted and pressure builds behind the kink. Similarly, when you sit in a chair that doesn't properly support your spine, your pelvis can rotate backward (posterior pelvic tilt), narrowing the space where the sciatic nerve exits your spine. Add prolonged pressure on the piriformis muscle (a deep buttock muscle that the sciatic nerve passes under or through), and you have a recipe for significant pain.
Research shows: According to the Journal of Physical Therapy Science, individuals who sit for more than 4 hours daily without proper ergonomic support are 54% more likely to experience sciatic symptoms compared to those using properly designed seating.
The Anatomy of a Sciatica-Friendly Chair
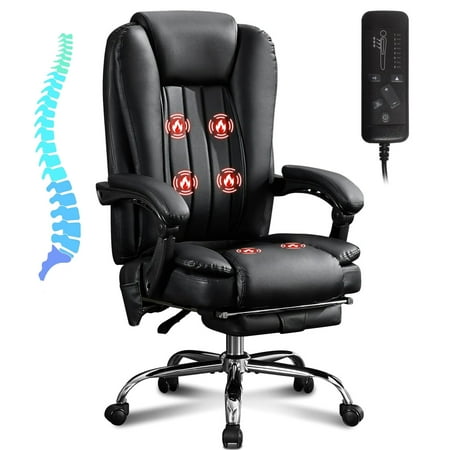
Nerve roots L4-S3
Common compression point
Tension affects nerve
Behind-knee pressure
When searching for an office chair for sciatica pain, you need to understand that standard office chairs often miss critical design elements. Here's what happens in a typical chair versus what should happen:
- Standard chairs: Flat lumbar support that doesn't maintain the natural S-curve of your spine, allowing the pelvis to tilt backward and narrow the spinal foramina (nerve exit points).
- Sciatica-optimized chairs: Multi-dimensional lumbar support that maintains lordosis (the natural inward curve of your lower back), keeping the spine properly aligned and nerve pathways open.
- Standard chairs: Flat, often firm seat pans that create pressure points under the ischial tuberosities (sit bones) and don't accommodate thigh contours.
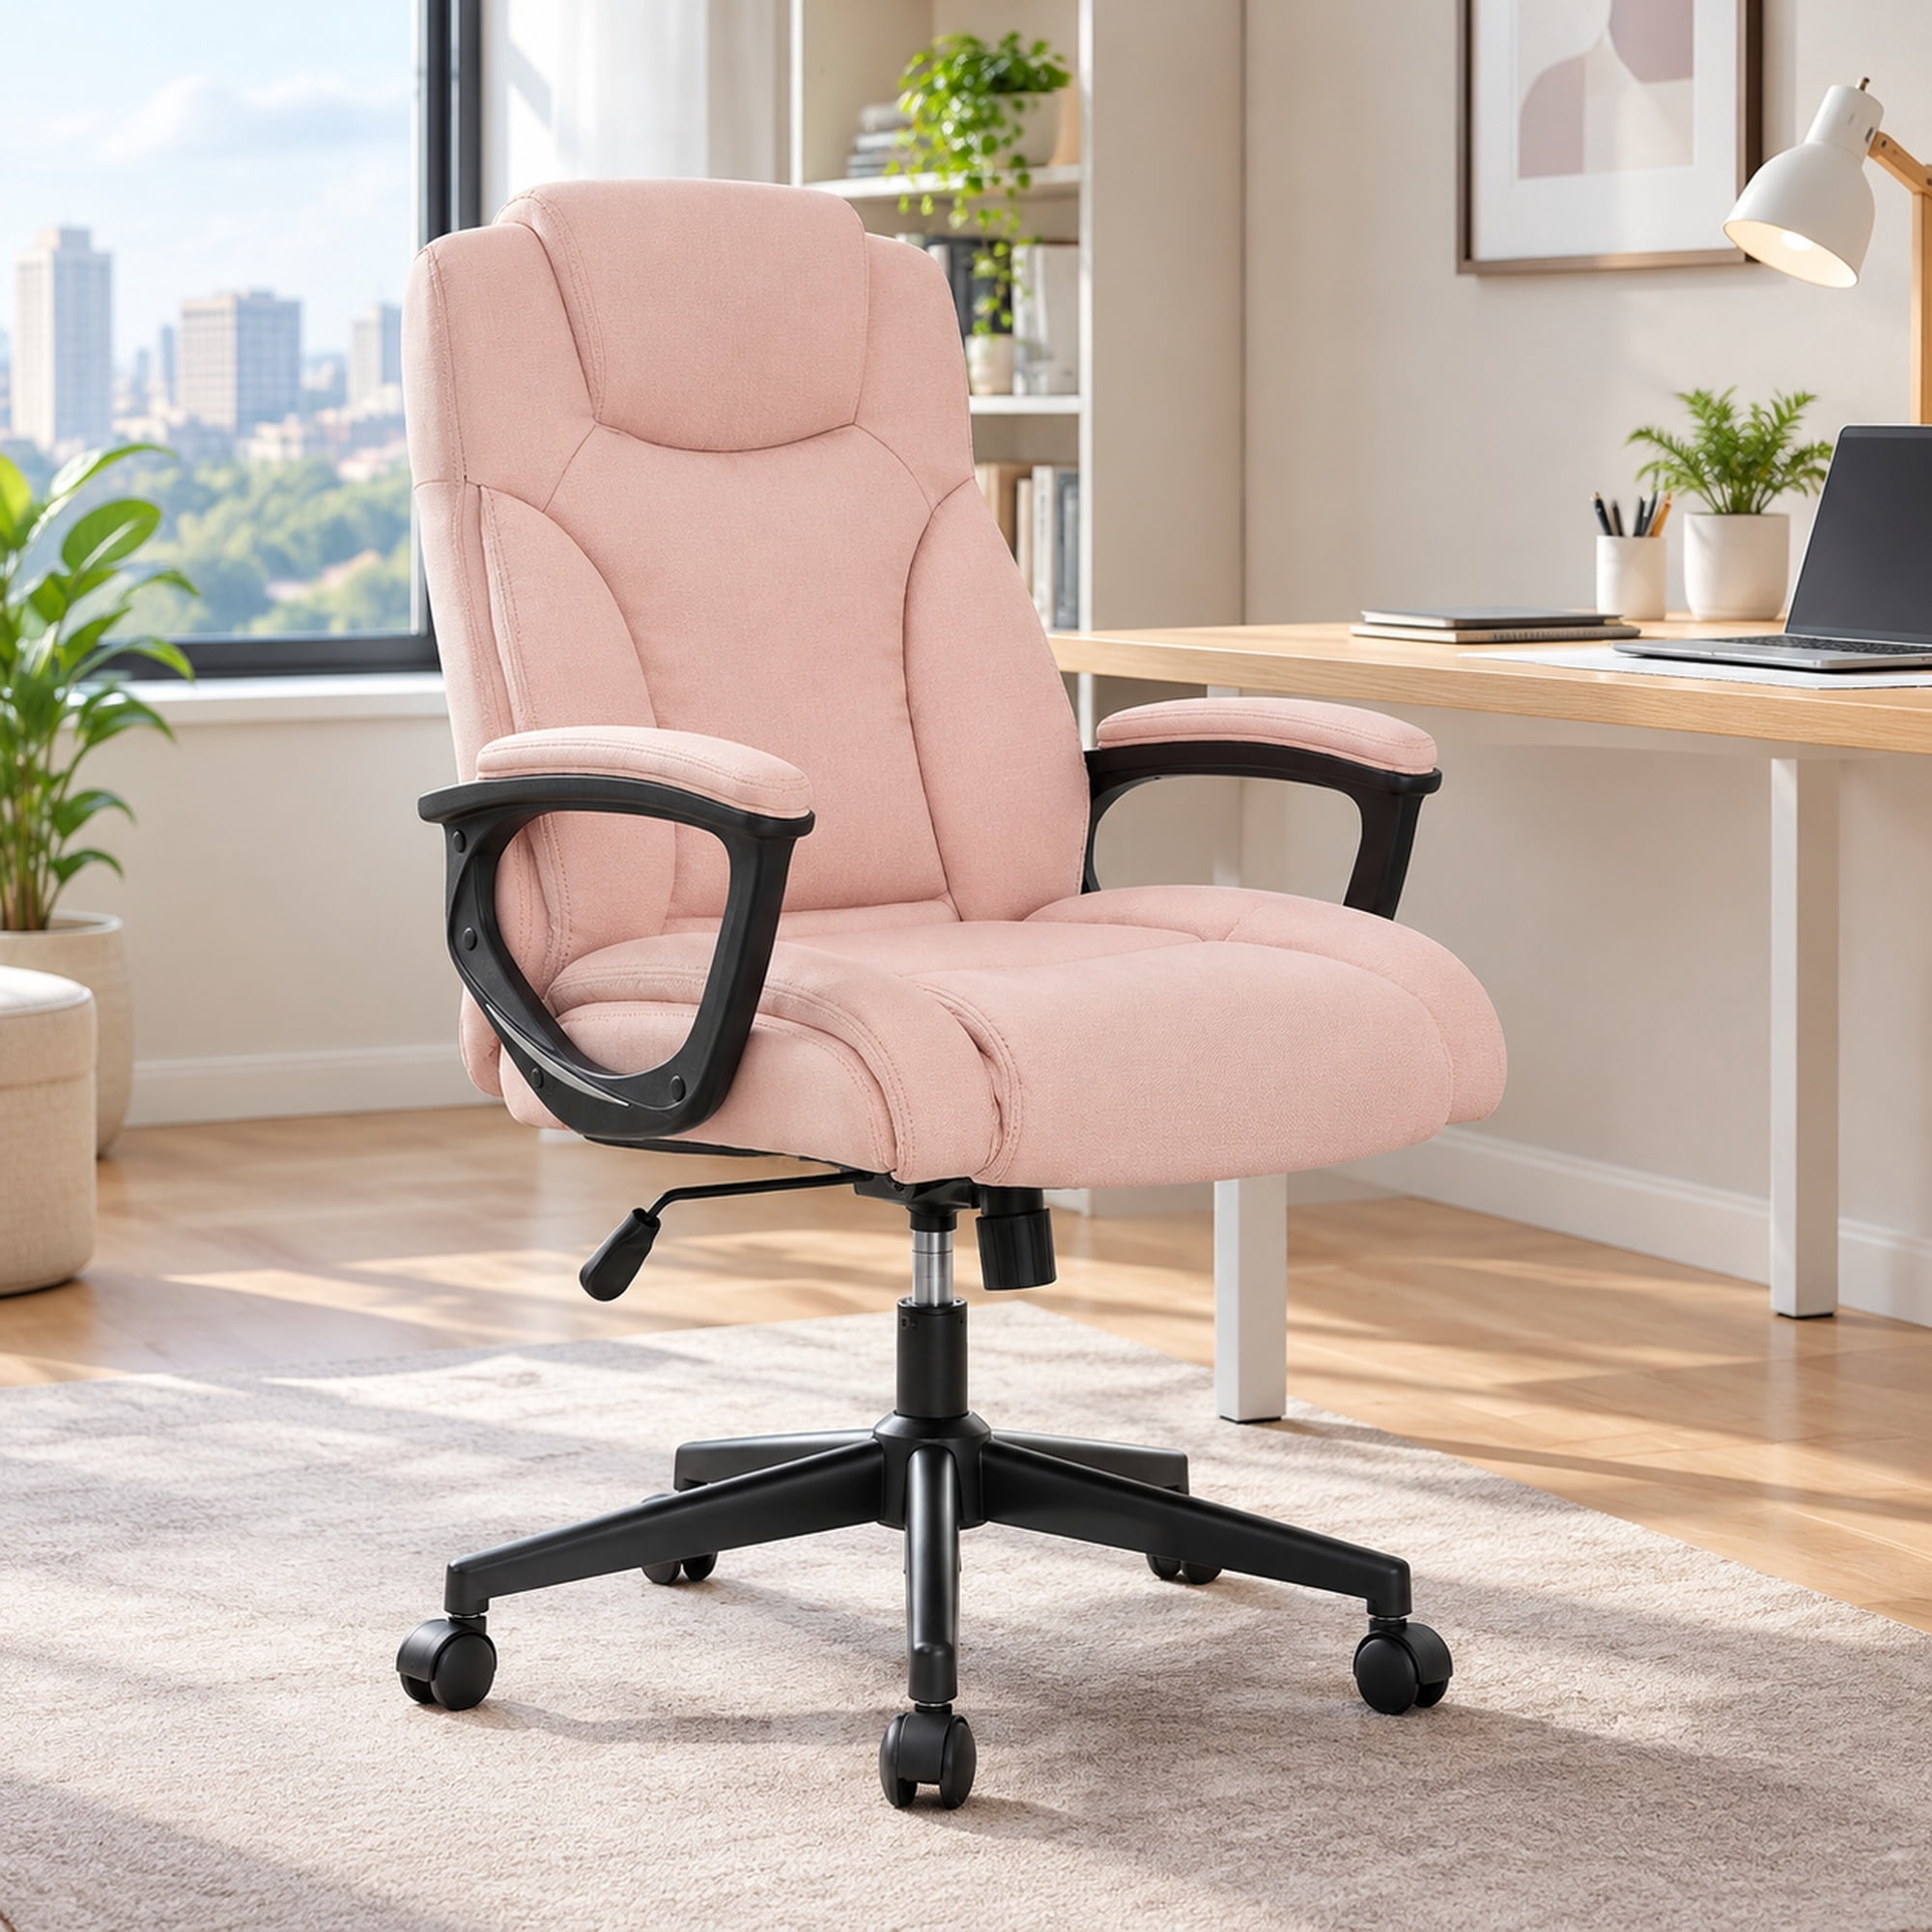
- Sciatica-optimized chairs: Contoured seat foam with varying density—firmer under the pelvis, softer under the thighs—plus a waterfall front edge that slopes downward, eliminating pressure behind the knees where the sciatic nerve branches.
Pressure Point Management: The Key to Relief
The sciatic nerve is particularly vulnerable at specific pressure points during sitting. A well-designed office chair for sciatica pain addresses each of these areas:
Ischial Tuberosities (Sit Bones)
These two bony points bear most of your sitting weight. Too much pressure here can cause pelvic rotation. Look for chairs with dual-density foam—firmer under the sit bones with a slight contour that cradles them without digging in.
Dual-density foam Contoured seat panPosterior Thigh (Hamstring Area)
The backs of your thighs contain the hamstring muscles, which attach near the sciatic nerve. Tight hamstrings pull on the pelvis, affecting the sciatic nerve. A waterfall seat edge is non-negotiable—it should slope gently downward at the front, not cut straight across.
Waterfall edge Seat depth adjustmentPiriformis Muscle Region
Located deep in the buttock, this muscle can spasm and compress the sciatic nerve (piriformis syndrome). A seat with adequate width and contouring (typically 20-22 inches wide) prevents excessive pressure on this area. Some chairs now feature a subtle center relief channel.
Wide seat design Center relief optionLumbar Spine (L4-S3)
Where the sciatic nerve originates. Adjustable lumbar support that moves both in/out and up/down is essential. The support should fill the gap between your lower back and the chair back without pushing too hard—gentle, consistent pressure that maintains the curve.
4-way lumbar Depth adjustableCritical Features in an Office Chair for Sciatica Pain
Based on biomechanical research and ergonomic principles, here are the non-negotiable features you should prioritize:
| Feature | Why It Matters for Sciatica | What to Look For |
|---|---|---|
| Seat Depth Adjustment | Prevents compression of the popliteal fossa (back of knee) where sciatic nerve branches pass. Too deep = pressure; too shallow = insufficient thigh support. | 2-4 inches of adjustment range; should leave 2-3 finger widths between seat edge and calves |
| Dynamic Lumbar Support | Maintains natural lordosis even as you move, preventing posterior pelvic tilt that narrows nerve exit spaces. | Height-adjustable (5-7 inches range) AND depth-adjustable (1-2 inches protrusion) |
| Seat Angle/Tilt Mechanism | Slight forward tilt (negative tilt) can open the angle between torso and thighs, reducing pressure on the lower back and promoting neutral spine position. | Independent seat tilt or synchronized mechanism with adjustable tension |
| Waterfall Seat Front | Eliminates the hard edge that compresses nerves and restricts circulation behind the knees. | Gradual downward curve, not a sharp drop; foam should maintain thickness at edge |
| Adjustable Armrests (4D) | Proper arm support prevents shoulder hunching, which can indirectly affect lower back alignment and nerve tension. | Height, width, depth, and pivot adjustments; should support forearms with shoulders relaxed |
| High-Resilience Foam | Maintains support over time without "bottoming out," which would transfer pressure to underlying structures. | High-density polyurethane foam (2.5-3.0 lb density) or memory foam with recovery support |
The Waterfall Edge: Your Sciatica's Best Friend
Let's talk about one feature that's absolutely critical: the waterfall seat edge. This isn't just marketing jargon—it's biomechanics. Look at your thigh from the side. Notice how it slopes downward as it approaches your knee? A flat, horizontal seat pan forces your thighs to conform to the chair's shape rather than the chair conforming to your body's natural contours.
When the front edge of your seat presses into the underside of your thighs, it's compressing the soft tissues directly over the path of the sciatic nerve branches. Within 15-20 minutes, this can begin to cause numbness, tingling, or the characteristic burning sensation of sciatica. A proper waterfall edge slopes downward at approximately a 10-15 degree angle at the front, allowing your thighs to maintain their natural position without pressure points.
Pro Tip: When testing a chair, slide your hand between the front edge of the seat and the back of your knee. You should have enough space to move your hand freely without compression. If the seat edge touches or presses against your legs, the chair is too deep for you or lacks proper waterfall design.
Lumbar Support: Beyond Basic Padding
Standard office chairs often include a lumbar "bump" that's fixed in position—usually designed for an "average" 5'9" person. But here's the reality: your lumbar curve isn't at the same height as anyone else's. For sciatica sufferers, improperly positioned lumbar support can actually worsen pain by pushing on the wrong spot.
The ideal office chair for sciatica pain offers independent height and depth adjustment for lumbar support. Height adjustment ensures the curve hits exactly at your belt line (typically between L3 and L4 vertebrae). Depth adjustment (how far the support protrudes forward) should be subtle—just enough to fill the gap without pushing your entire body forward. Some advanced chairs now offer air-bladder lumbar systems that allow micro-adjustments throughout the day as your back fatigues.
Sitting Posture Techniques for Sciatica Management
Even the best chair won't work magic if you're sitting incorrectly. Here's a step-by-step guide to positioning yourself in your office chair for sciatica pain:
Material Selection for Sciatica Relief
The upholstery and cushioning materials in your chair directly affect pressure distribution and comfort:
- Memory foam with gel infusion: Excellent for pressure relief as it conforms to your unique shape while the gel helps dissipate heat. However, some memory foam can be too soft, allowing the pelvis to tilt. Look for "high-resilience" memory foam that maintains support.
- Multi-density foam: Premium chairs often use different foam densities in different zones—firmer under the sit bones, softer under the thighs, medium in the backrest. This targeted support reduces pressure on sensitive areas.
- Breathable mesh: While excellent for airflow, pure mesh seats often lack the cushioning needed for pressure relief. Look for chairs with foam seats and mesh backs, or mesh seats with additional padding layers.
- Leather/faux leather: Easy to clean but can be slippery, causing you to slide forward and lose proper positioning. If choosing leather, look for a slightly textured surface or add a non-slip seat cushion.
The Role of Movement and Micro-Adjustments
Static sitting—even in a perfect chair—is the enemy of sciatica. Your body needs movement to pump nutrients into spinal discs and prevent nerve adhesion. Look for chairs with these movement-friendly features:
- Synchronous tilt mechanism: Allows the seat and backrest to move together in a coordinated ratio (typically 2:1 or 3:1 back-to-seat movement), keeping you supported through a range of motion.
- Forward tilt function: Tilts the seat pan forward 5-15 degrees, opening the hip angle and reducing pressure on the lower back—useful for leaning over a desk to write or read.
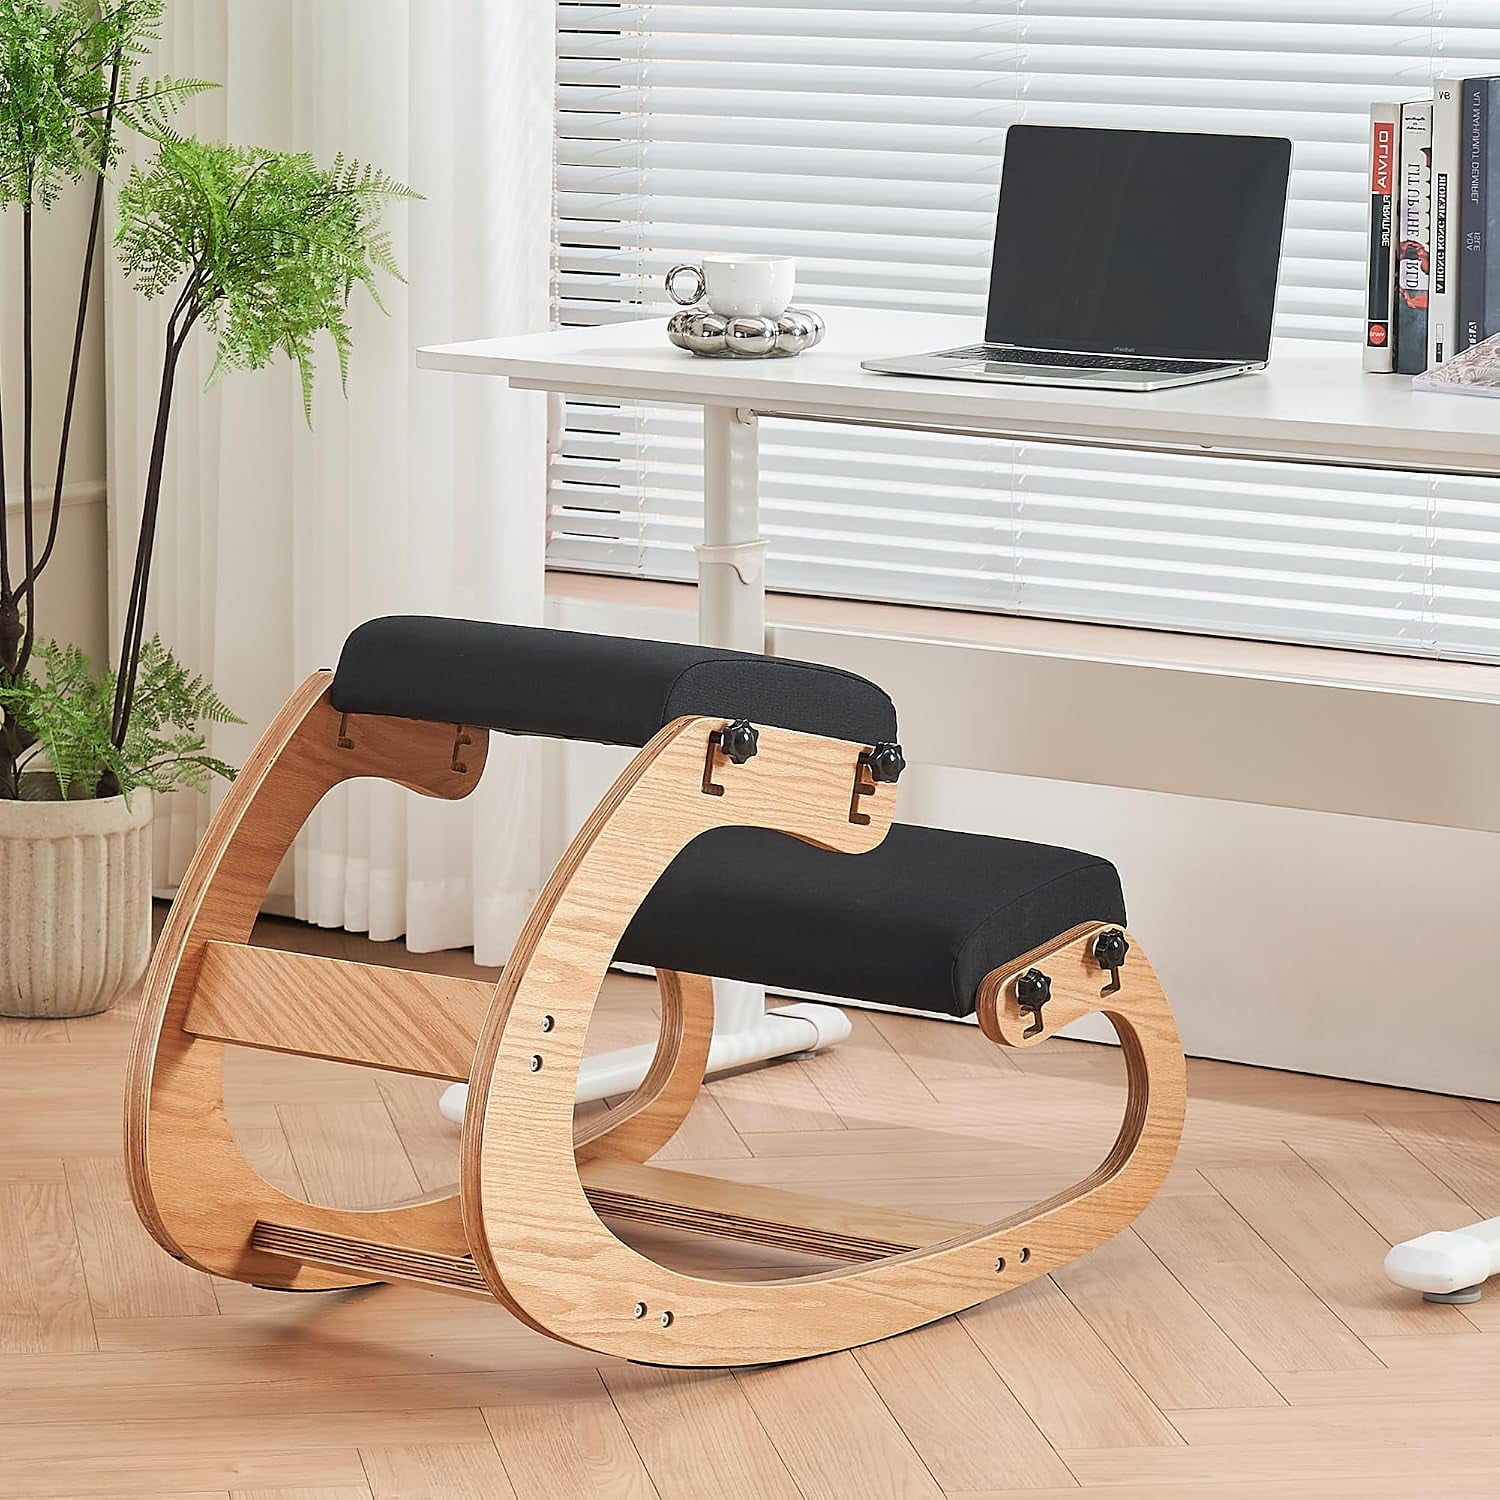
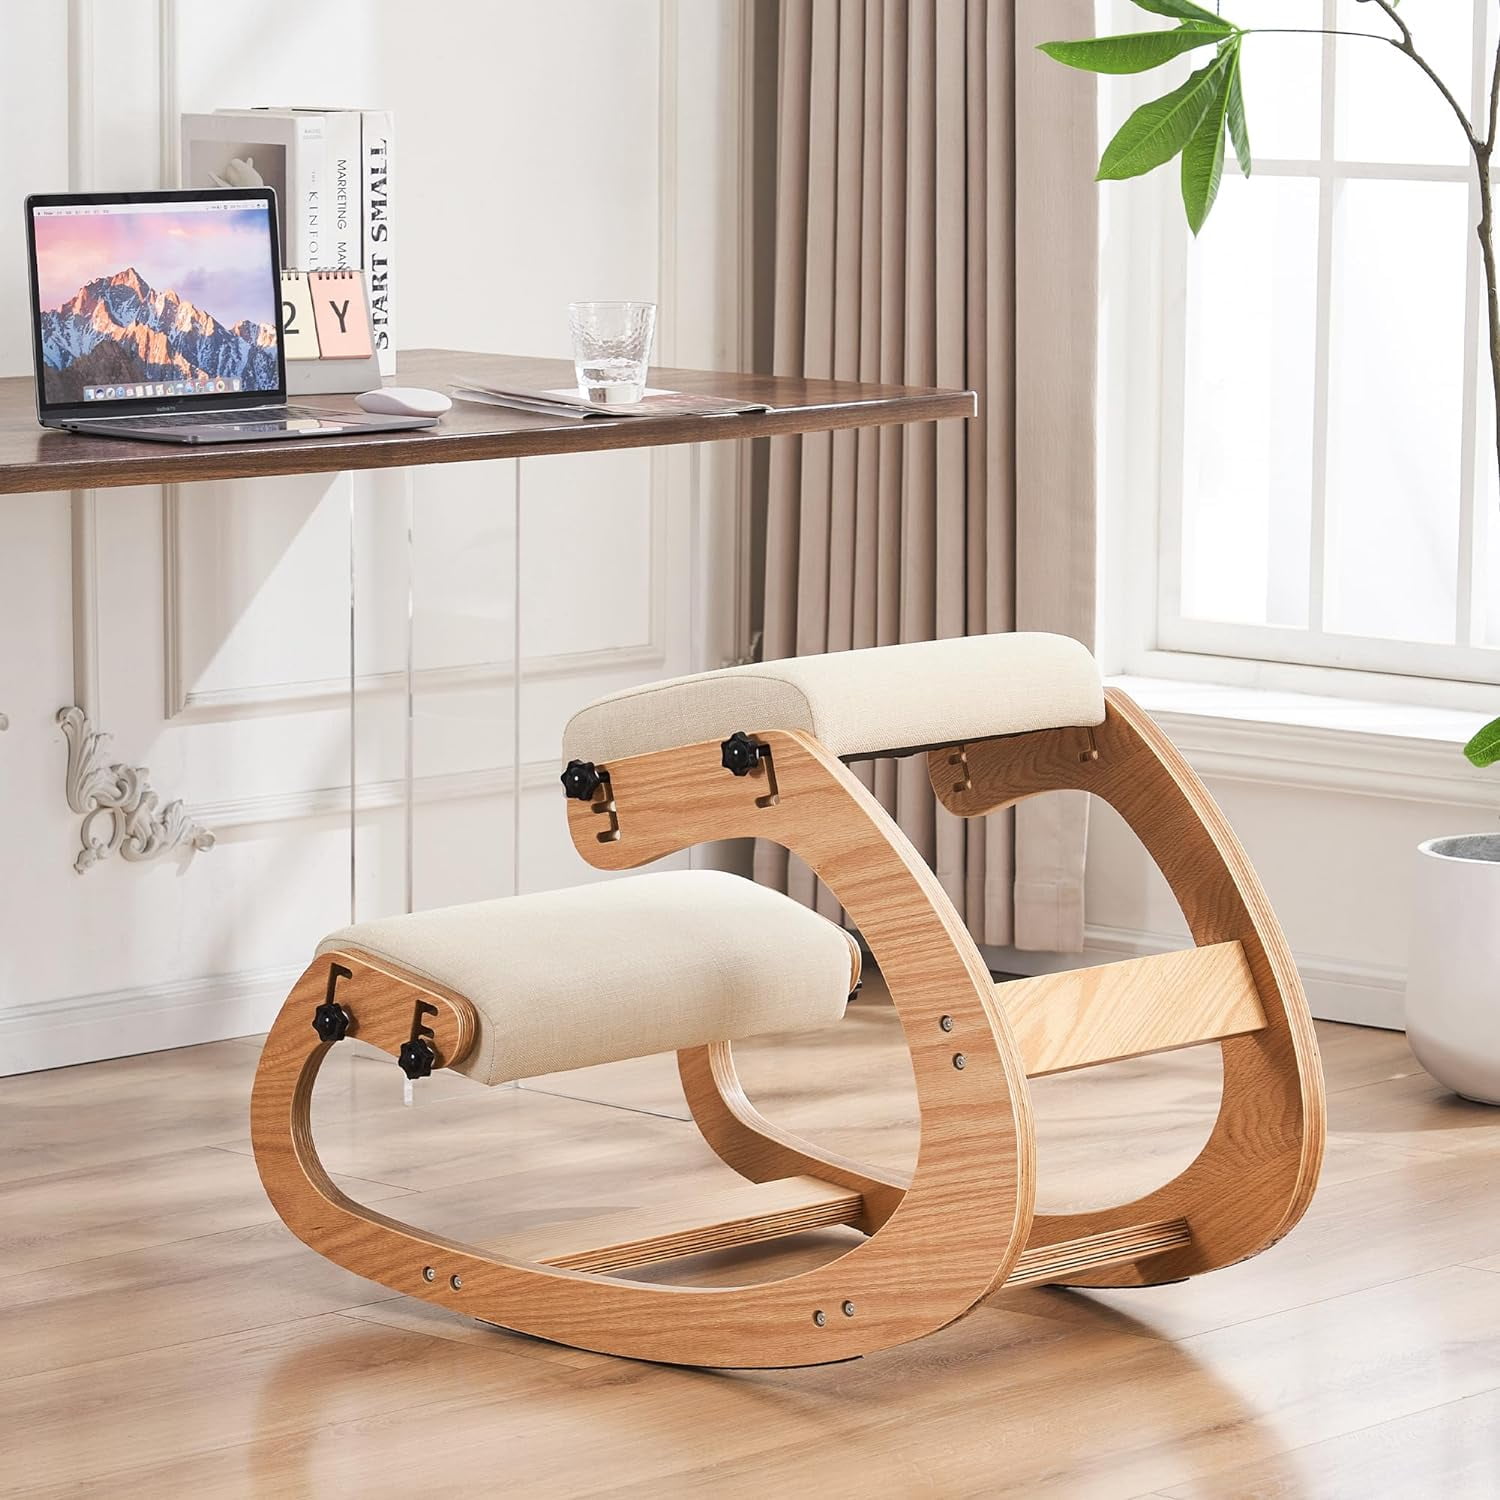
- Rocking function with tension control: Gentle rocking motion can reduce static loading on spinal discs and keep the sciatic nerve mobile rather than compressed in one position.
- Castor wheels for easy movement: High-quality casters (appropriate for your floor type) encourage you to move around your workspace rather than twisting and straining.
When to Consider a Seat Cushion
Sometimes, even the best chair needs a little help. Specialized sciatica seat cushions can provide additional relief:
- Wedge cushions: Tilt your pelvis slightly forward, reducing pressure on the lower back and opening the hip angle.
- Donut/coccyx cushions: Remove pressure from the tailbone area, which can be helpful if your sciatica involves lower sacral nerve roots.
- Contoured gel cushions: Provide additional pressure redistribution, especially useful in chairs with worn-out foam.
However, a cushion should be a supplement, not a substitute for a properly designed office chair for sciatica pain. If you find yourself needing multiple cushions to make a chair comfortable, the chair itself likely isn't right for your needs.
Red Flags: What to Avoid
Just as important as knowing what to look for is knowing what to avoid. These features can aggravate sciatica:
- Bucket seats: Common in gaming chairs, these wrap around your thighs and hips, potentially compressing the lateral thigh and piriformis area.
- Fixed lumbar supports: If you can't adjust the height and depth, the lumbar curve will likely hit the wrong spot on your spine.
- Hard or unpadded seat edges: Any chair with a firm front edge that doesn't slope will compress the backs of your thighs.
- Fixed armrests: Armrests that are too high force you to hunch; too low and you'll lean to one side—both create postural imbalances.
- Shallow seat pans: If the seat is too short front-to-back, your thighs won't be fully supported, increasing pressure on your sit bones.
Investment vs. Relief: The Cost-Benefit Analysis
Quality office chairs for sciatica pain typically range from $400 to $1,500. While this may seem significant, consider the alternative: lost productivity (sciatica is one of the leading causes of missed work days), medical costs (physical therapy, medications, injections), and decreased quality of life.
A study in the Journal of Occupational and Environmental Medicine found that for every dollar spent on ergonomic improvements (including chairs), companies saw a return of $3-6 in reduced absenteeism and increased productivity. For individuals, the return is even more personal—days without pain, better focus, and the ability to enjoy life after work hours.